


Google Calendar Timesheet Integration — How to Set Up
Step-by-step guide to integrating Google Calendar with your timesheet workflow. Connect once, auto-export weekly — no coding required.
Google Calendar Timesheet Integration — How to Set Up
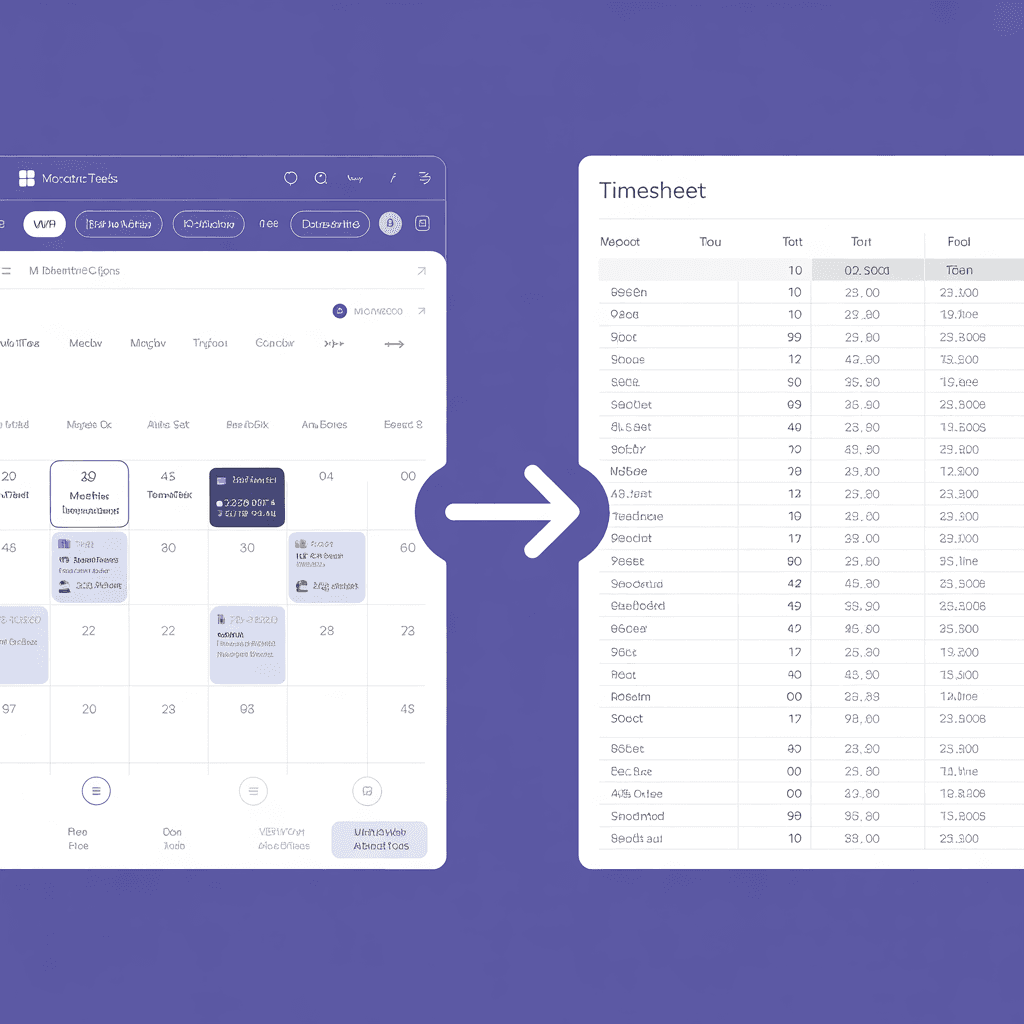
Your Google Calendar is already the most accurate record of how you spend your work day. Every meeting, focus block, client call, and team sync is logged with precise start times, end times, and descriptions.
So why are you retyping all of that into a separate timesheet?
This guide walks you through setting up a Google Calendar timesheet integration that auto-generates your weekly timesheet — no coding, no plugins, no IT department required.
What You Need
- A Google Calendar account (personal or Google Workspace)
- A browser (Chrome, Firefox, Safari, or Edge)
- 60 seconds
Step-by-Step Setup Guide
Step 1: Go to Stintt
Open stintt.com in your browser. No account creation needed for the free plan.
Step 2: Click "Connect Google Calendar"
You will see the Google OAuth consent screen. Stintt requests read-only access to your calendar events. We cannot create, edit, or delete anything in your calendar.
What permissions are requested:
- View calendar events and details (read-only)
- View your email address (to identify the calendar)
What is NOT requested:
- Write access to your calendar
- Access to your contacts, Gmail, or Drive
- Any offline or background access
Step 3: Select Your Date Range
Choose the date range for your timesheet:
- Free plan: Up to 7 days per export
- Pro plan: Any range up to a full year (weekly, biweekly, monthly, custom)
Step 4: Review Your Events
Stintt displays all calendar events in a clean, editable table. You can:
- Edit event titles — rename "Quick sync" to something more descriptive
- Assign categories — tag events as "Client Work," "Internal," or "Admin"
- Exclude events — skip personal appointments or lunch blocks
- Merge events — combine related back-to-back meetings
Step 5: Choose Your Export Template
Select the export format that matches your company's timesheet system:
| Template | Best For |
|---|---|
| Standard | Simple weekly timesheets (date, task, hours) |
| Detailed | Timesheets requiring attendee and location info |
| Daily Summary | Aggregated hours per day |
| Client Billing | Grouped by client/project with billable totals |
| Custom Upload | Your company's exact spreadsheet format |
Step 6: Export to Excel
Click "Export" and download your .xlsx file. Open it in Excel, Google Sheets, or LibreOffice — or upload directly to your HR/project management portal.
Done. Your timesheet is complete.
Advanced Setup: Multiple Calendars
Most professionals have more than one calendar. Stintt supports aggregating events from multiple sources in one export:
- Google Calendar (personal + workspace) — Free plan
- Microsoft Teams — Pro plan
- Zoom — Pro plan
- Jira — Pro plan (logs as tasks, not meetings)
- ClickUp, Asana, Monday.com — Pro plan
- Toggl Track — Pro plan
Advanced Setup: Custom Template Mapping
If your company uses a specific timesheet format, you can upload your template and map columns:
- Upload your company's
.xlsxtimesheet template - Drag-and-drop to map Stintt fields to your template columns
- Save the mapping for future exports
Privacy and Security
This is important — especially if your calendar contains confidential client meetings or internal strategy sessions.
Stintt processes everything in your browser. Calendar data is fetched via Google's API directly to your device. It is never sent to our servers, never stored in a database, never logged.
- Read-only OAuth access (we cannot modify your calendar)
- Client-side processing (no server-side data storage)
- Revoke access anytime from Google Account Permissions
- Compliant with Google's Limited Use Policy
Common Questions
Q: Will this work with Google Workspace (company accounts)?
Yes. Stintt works with both personal Gmail calendars and Google Workspace accounts. Your IT admin may need to allow the OAuth app if your organization restricts third-party access.
Q: Can I set it up to run automatically every week?
The free plan requires a manual export each week. Pro users can save their preferences and export with a single click — same configuration, new date range.
Q: What if some calendar events are personal?
You can exclude specific calendars or individual events before exporting. Only include what belongs on your timesheet.
Start Your Integration Now
Your calendar already has the data. Stop retyping it.
Connect Google Calendar for free and generate your first timesheet in under 60 seconds.
Already using Stintt? Check our Time Zone Converter for managing meetings across time zones, or our Work Hours Calculator to track overtime.
- See how Stintt builds automatic timesheets from Google Calendar
- Set up the Google Calendar timesheet integration
- Try the free timesheet calculator
- Compare plans on Stintt pricing
Related articles
ClickUp Time Tracking to Excel: Step-by-Step Guide
ClickUp has solid built-in time tracking, but exporting it to Excel for clients or management is clunky. Here are three ways to get your ClickUp hours into a proper spreadsheet.
How to Create Timesheets from Asana Tasks
Asana doesn't have native timesheet export. Here's how to turn your Asana tasks and time tracking into professional timesheets for clients and managers.
How to Export Microsoft Teams Meetings to a Timesheet
Your Teams calendar already tracks every meeting. Here's how to turn that data into a professional timesheet — manually, with Power Automate, or with an automated tool.