

ClickUp Time Tracking to Excel: Step-by-Step Guide
ClickUp has solid built-in time tracking, but exporting it to Excel for clients or management is clunky. Here are three ways to get your ClickUp hours into a proper spreadsheet.
ClickUp Tracks Time Well — Exporting It Is the Problem
ClickUp's native time tracking is one of its best features. Click the timer on any task, and it logs start time, end time, and duration automatically. You can even add manual entries.
But when Friday comes and you need an Excel timesheet for your client or manager, the export options are limited. ClickUp's CSV export dumps raw data with internal IDs, nested spaces, and formatting that needs heavy cleanup.
Here's how to get clean timesheets from ClickUp.
Method 1: ClickUp's Native Export
ClickUp lets you export time tracking data:
- Go to Time Tracking view (or click the timer icon in the sidebar)
- Filter by date range, space, or assignee
- Click Export → CSV
What you don't get: Formatted Excel, proper column headers, grouped data, or calculated totals. You'll need to open the CSV in Excel and format it manually.
Time needed: 10-15 minutes of formatting per export.
Method 2: ClickUp + Zapier/Make
Automation platforms can bridge ClickUp and Google Sheets or Excel:
- Trigger: New time entry in ClickUp
- Action: Add row to Google Sheets
- Zapier free tier: 100 tasks/month (burns through fast)
- Make.com: More flexible but requires setup
- Both add latency — entries appear with a delay
- Neither produces a formatted timesheet
Method 3: Export via Stintt
Stintt connects to your ClickUp workspace:
- Authorize with your ClickUp account
- Select spaces, folders, or lists to include
- Choose a date range
- Pick a template format (standard, client billing, daily summary)
- Export as formatted
.xlsx
ClickUp Time Tracking Tips
1. Use the timer, don't estimate. ClickUp's built-in timer captures actual time. Manual entries are useful for logging retroactively, but the timer is more accurate.
2. Set up billable vs. non-billable. ClickUp lets you mark time entries as billable. Use this consistently — it makes invoicing much easier when you export.
3. Organize by client or project. Use ClickUp Spaces for clients and Lists for projects. This hierarchy maps cleanly to timesheet categories.
4. Add time estimates. Setting estimates on tasks lets you compare estimated vs. actual time — useful for improving future project quotes.
Combining ClickUp with Calendar Data
ClickUp tracks project work, but not meetings. For a complete timesheet:
- Use ClickUp for task-level time tracking
- Use Google Calendar or Teams for meetings
- Combine both sources in Stintt for one unified export
Bottom Line
If you want the calendar side of the same week, how to auto-fill a timesheet from Google Calendar covers it.
ClickUp's time tracking is solid for capturing data. The gap is in the last mile — getting that data into a professional, client-ready format. Use the native export if you don't mind formatting. Use an integration tool if you want clean output without the spreadsheet cleanup.
- See how Stintt builds automatic timesheets from Google Calendar
- Set up the Google Calendar timesheet integration
- Try the free timesheet calculator
- Compare plans on Stintt pricing
Related articles
How to Create Timesheets from Asana Tasks
Asana doesn't have native timesheet export. Here's how to turn your Asana tasks and time tracking into professional timesheets for clients and managers.
How to Export Microsoft Teams Meetings to a Timesheet
Your Teams calendar already tracks every meeting. Here's how to turn that data into a professional timesheet — manually, with Power Automate, or with an automated tool.
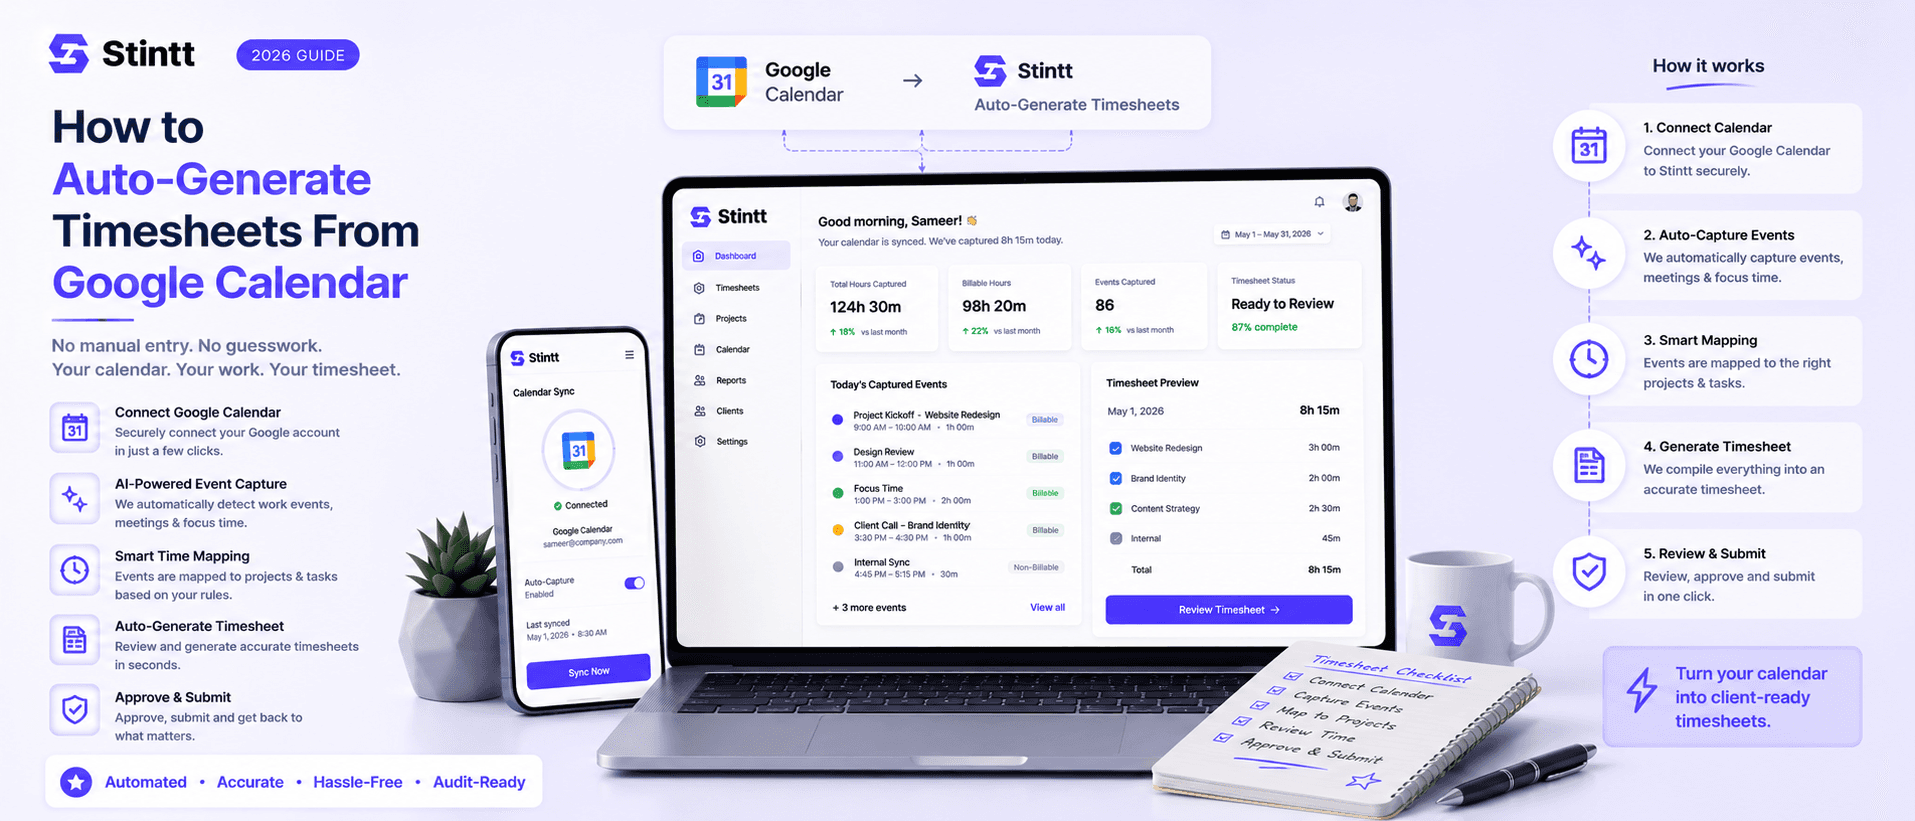
How to Auto-Generate Timesheets From Google Calendar
Most of your timesheet already exists — it's sitting in Google Calendar as client calls, project meetings, and focus blocks. The fastest way to auto-generate timesheets is to connect that calendar read-only to a tool that drafts an entry from every event and lets you approve before anything gets billed. This guide walks the calendar-to-timesheet pipeline step by step, including where the AI still needs your judgment, and when a DIY spreadsheet is honestly the better call.